
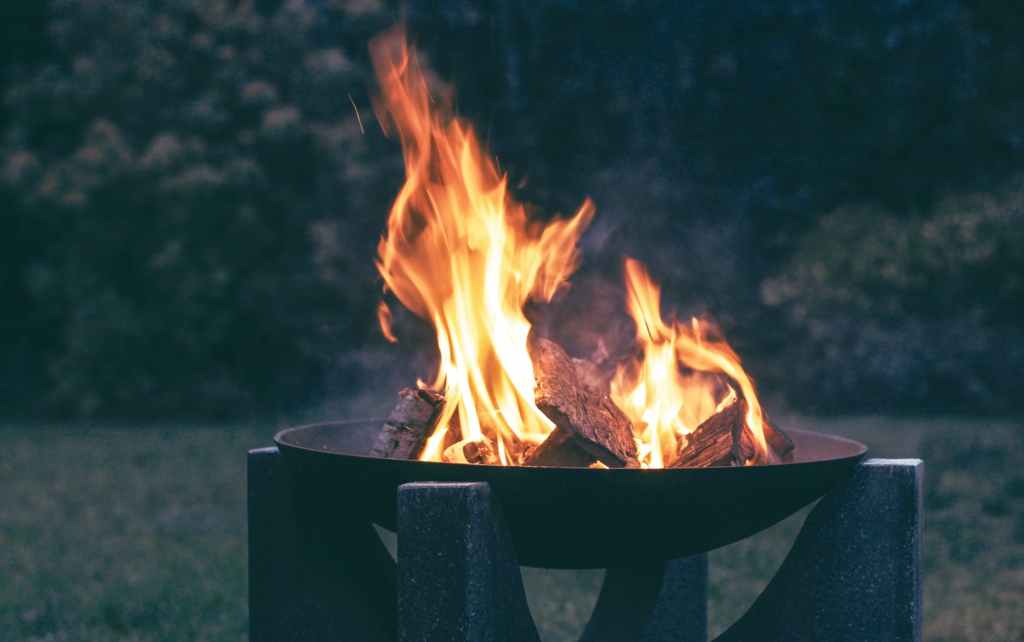
Cool spring evenings and yard work have us looking forward to our firepit, once we get the area cleared, till the soil, lay a solid foundation to prevent the dogs digging holes, and providing an area for seating. So we’ve been measuring space and looking into safe setups for fire pits.
It also got me thinking back to camping with my family and cooking over an open fire like we used to do then. Back in the 60s and 70s a lot of people camped. A lot of people also went to Disneyland and eventually Disneyworld, flew around the country to visit family and stayed in hotels! I didn’t stay at my first hotel until I was 19 years old. It was a road trip to Illinois with my close friend, Kelly. But that’s another story for another post.
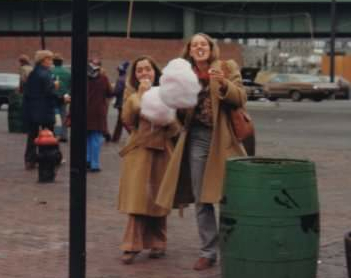
For my family, we vacationed on a budget. My father only got one week off a year for vacation (and it was the same week every year), so we did “camping.” Camping the DIY way.
Sometimes you just have to do what you have to do
My father worked for one of my mother’s brothers starting sometime in the late 60s or so. I really don’t remember when but I do know it was after my grandfather’s barrel business shut down, after he’d finished going to transmission school, and after he spent a few months washing floors by hand at night at a local grocery store because their floor washer/waxer machine had broken down.
But my father was the kind of guy that wouldn’t complain or refuse to work, so he just got down on his hands and knees and scrubbed and waxed those floors. I can’t even imagine what that took, even if it was a small store. I do know my mother eventually told him to quit, and my uncle hired him as a “picker” picking inventory and filling boxes for my uncle’s electronic surplus business in Lynn, MA. He also helped clients at the shop, drove around to various warehouses to pick up new inventory for the shop, and it resulted in us having access to a van.
Camping in a van – the 60s way to enjoy life on the road

We may have purchased the first van we had because it was gold and had windows. Not exactly a business vehicle. I don’t really remember clearly, but I seem to recall my father starting to drive stuff around for work, and then my uncle bought a van because it was getting used so much for the business. Lucky us, we also got to use it as our family vehicle, so it had to be transformable.
A real “transformer” vehicle
Bottom line – we had a van, and my mother and my father fitted that thing out with storage benches with padded removable tops that doubled as beds along each side. They also made a large plywood platform that stretched from side to side between those benches so THAT could be a double bed. And added a padded board that covered both front seats and the console so there’d be one more bed in the front. And all six of us slept in there unless my brothers and my father deemed an evening to be rain-free at which point they’d sleep outside the van in a small tent. Those nights were blissfully snore-free but also few and far between because if you ask any of my siblings when we went camping it RAINED!!!
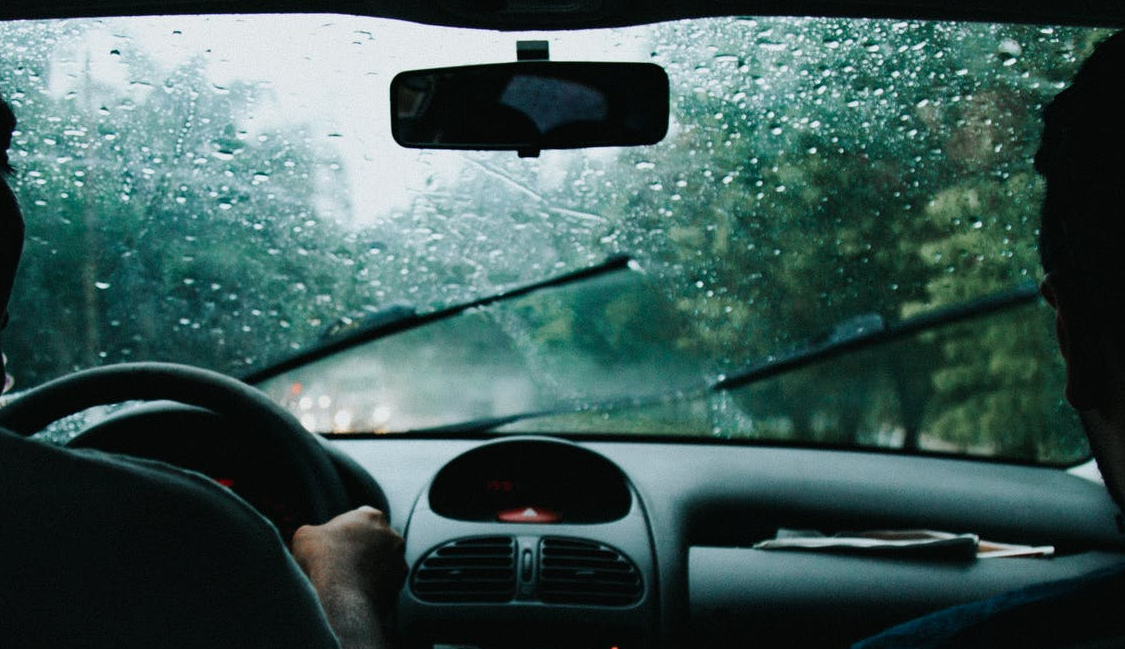
We packed the van in the rain, unpacked in the rain, stayed at flooded campgrounds, drove through Virginia fields of July corn during thunderstorms, and saved up coins to use the hot showers as a “fun thing to do” when we couldn’t go swimming due to weather issues. For us, showers were a novelty since we only had a big bathtub at home. And learning to cook at a tent site (even though we pretty much lived in the van on those trips) was another lesson in my life.
Not your everyday dream kitchen
You start with holes in the ground. At least when it comes to washing up dishes. And as per my previous post girls got to do the kitchen work. We also dug the two 18” or so deep holes into which my mother would place a tarp held down with rocks. These holes had to be filled back up when we left the campground, too! Once dug, we’d fill both (you had to have two near each other) with hot water boiled over the open campfire. These were to wash and rinse cook pans, plates, coffee pot, and cups. We did use paper a lot but there was always something that needed washing.

We also bought firewood and I can remember one week up at Pawtuckaway State Park, I spent most of the weekend chopping wood pieces in half so we could use less in the fire, and save some for our next stop. Chopping wood was probably not something my aunt would have felt was “girls’ work” (again, see previous post) but my father saw no issue with everyone learning to use an axe.
Telling stories around the campfire
I also remember the comfort of sitting by the fire late at night, listening to a nearby river, or people singing, or just my mother making up stories about Little Red Riding Helmet (she used to love to tell traditional stories with a modern twist). We stayed in a variety of campgrounds, either as paying campers or occasionally sneaking into a campground after closing, sleeping in the parking lot, getting up to take a shower before the sun came up, and then getting back on the road before anyone saw us. It was an adventure.
One too many stars
One night it was beautifully clear and we were staying in Vermont I believe. Far from city lights and with a million stars overhead. My brothers were tucked into both side beds, and my mother, sister, and I were sleeping cross-wise on the middle bed. My father was lying across the front seats in his own little area of privacy. We chatted a bit, cracked a joke or two, but it had been a long day of fishing, hiking, and driving, and very soon we started to drift off to sleep. Crickets chirped in the background and you could hear campers now and then talking but it was peaceful and quiet… without warning, from the front seat, we hear my father in a huge but timid voice yell,
“Jesus Christ! Someone else sleep up here!”
Bud Anderson, from the front seat/bed, sometime in the 70s
My father had been lying there all alone gazing up at the stars from his private section of the van and was suddenly overwhelmed by how small he was in comparison to that wide-open universe overhead. He couldn’t take it a minute more.

Camping as a family brings you closer to each other, but also, at least for my father that night, it brings you closer to yourself and your connection to something so much bigger!
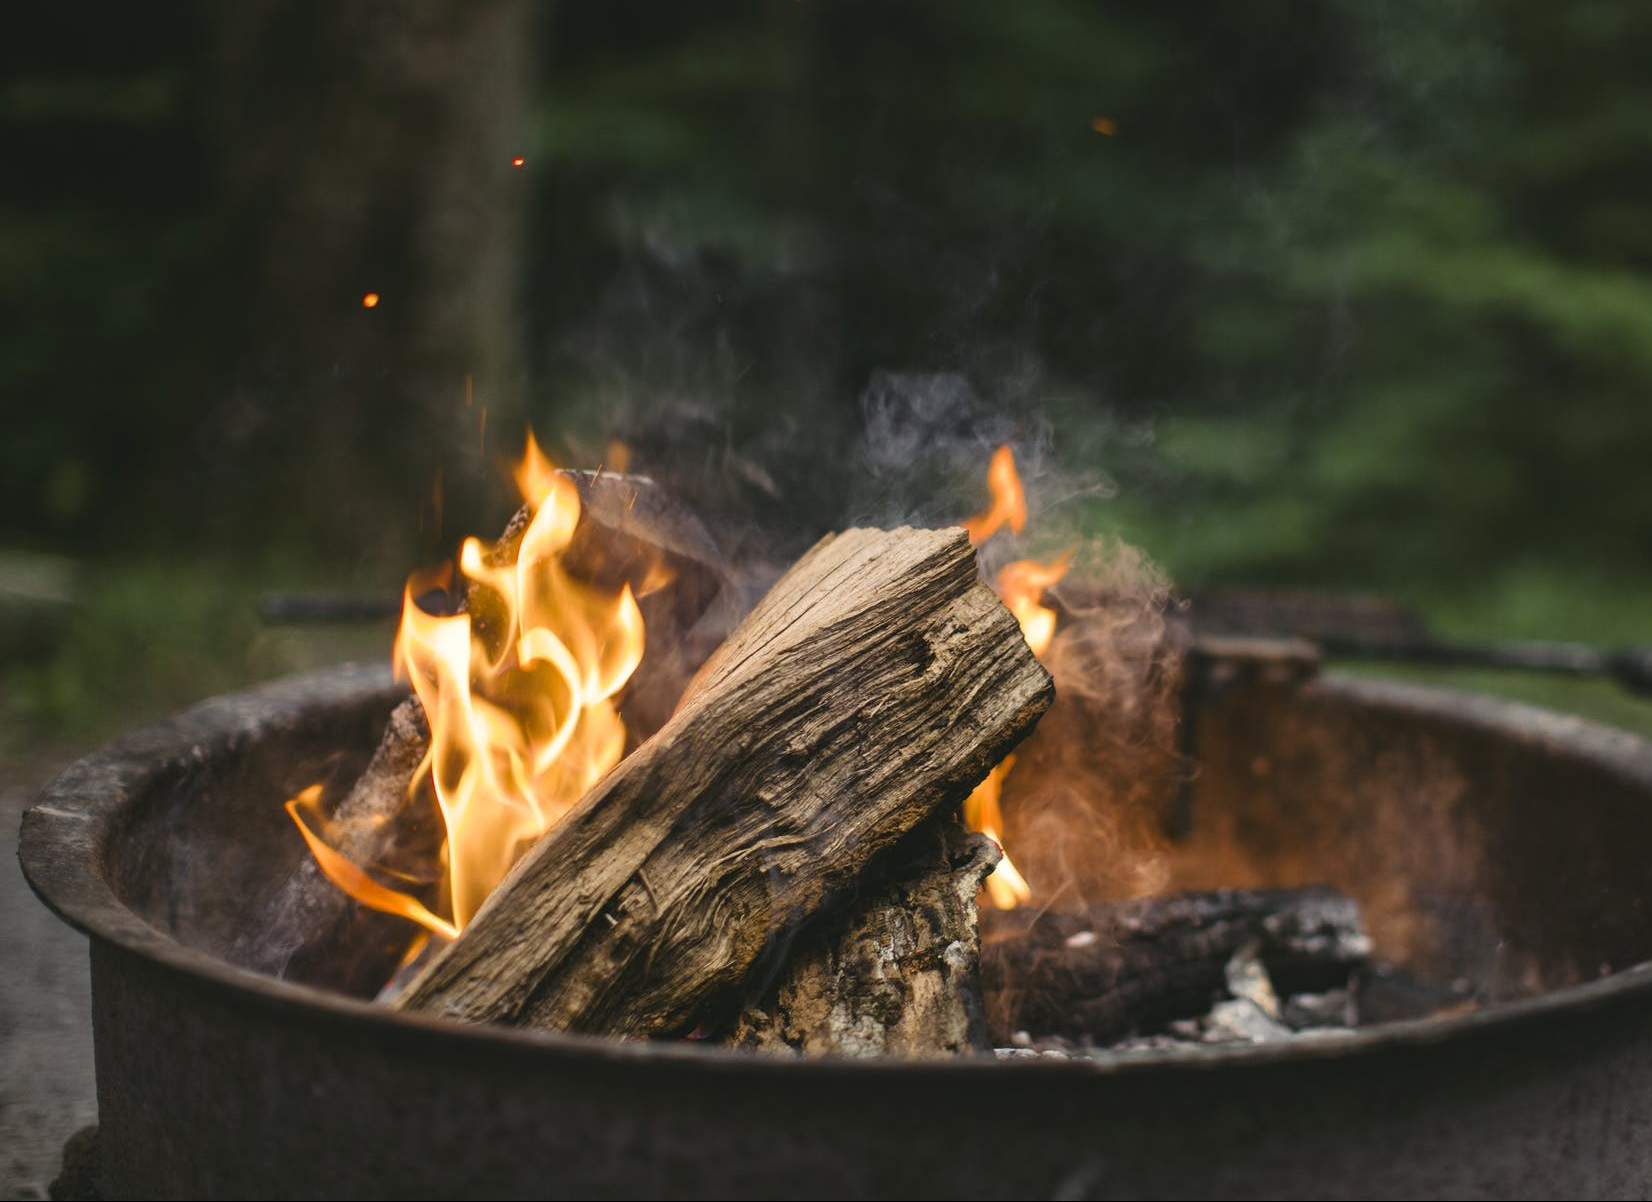
Cooking over a campfire
We also loved to cook over the campfire, and I hope you enjoy the recipes at the end of this post, researched by my wife, Beth. She loves the outdoors, camping, and all the rest, and has her own memories of family and vacations spent outdoors by the ocean on the Cape, and also cooking outdoors when she was in the Army. Simple, tasty recipes you might want to try with your family!
Firepit Safety Tips
If you live in an area where it’s cold for part of the year, adding a firepit can give you year-round use of your yard. Whether your fire pit is a simple circle of stones, a kit you bought at the DIY shop, a pre-built unit, or a professional build, safety should come first to ensure your friends and family can enjoy your firepit now, and for many seasons to come. The following tips should come in handy for anyone planning a fire pit.
Location, location, location!
- Find a level space 10 – 25 feet away from surrounding plants, buildings, and your home. Check with your local fire department or other authorities to make sure you’re meeting their regulations. In some towns it’s 10 feet, others its 25. Better to ask first than have to dig up a permanent fire pit to avoid a fine. (Also, check open burn regulations in your area. I just discovered that in my town fire pits, unless they’re being used to cook, are considered open burn and are limited to January through April.)
- Cover the area with non-combustible materials like crushed stone, brick, patio blocks, concrete, or sand. Make sure any vegetation is at least 5 feet away from the pit itself, creating a “fire break.”
- Fire pits should be at least 6 inches deep at the center, and 2 feet across.
- If you burn wood in your fire pit (as opposed to gas-fueled), it should be seasoned at least 6 months, and hard wood burns more safely than soft woods like pine and birch. If you like the sound of crackling those softer woods provide, consider a crackling fire log instead. Just be aware that those burn for a while (some up to 3 – 4 hours!) and are difficult to extinguish. Logs should be cut to fit easily into your pit, not lying across the top.
- Fire pits usually come with a screen. This prevents sparks and ash from escaping. Make sure to use it.
- Set seats far enough away from the fire to allow people to stand and walk around without having to worry they’ll fall into the fire, or come into contact with a hot stone.
At some point, the fire will need to be put out!
- Keep a bucket of sand, water, or a garden hose nearby to douse flames.
- With a gas fire pit, if there is a sudden need to extinguish the flame, make certain to turn off the gas first.
- When you’re done with the fire pit for the night (or afternoon), turn it off, or douse it well to fully extinguish the flame. Give the embers a good stir to make certain everything is out.
- Throwing cold water onto a hot fire in a ceramic or metal fire pit can result in cracking.
The list of DO NOTS
It’s a long list and no one likes rules, but these are important!
- Do not use a firepit on a windy day or evening.
- Do not use lighter fluid to start a fire pit. Purchase a bag of commercial fire starter sticks or cups and kindling and be patient! Firepits are about relaxing after all.
- Do not leave your fire pit unattended, or children or pets near a lit fire pit unattended.
- Do not put garbage or paper products into the fire.
- Do not use plywood, composite wood, or other materials that can release toxic fumes.
- Do not wear flammable or loose-fitting clothing while near the pit
- Do not place a fire pit on a wooden deck, or directly on grass.
- Do not allow risky behavior, running, throwing things into the fire, etc as these can result in injury or spread of fire.
- Do not discard hot ashes in a compost pile, cardboard box, or anything else that could catch fire if a random ember remains. Dispose of ashes safely. A metal can is a perfect solution.
Using a firepit to cook – which is what we’ll be doing this summer so our use is legal!
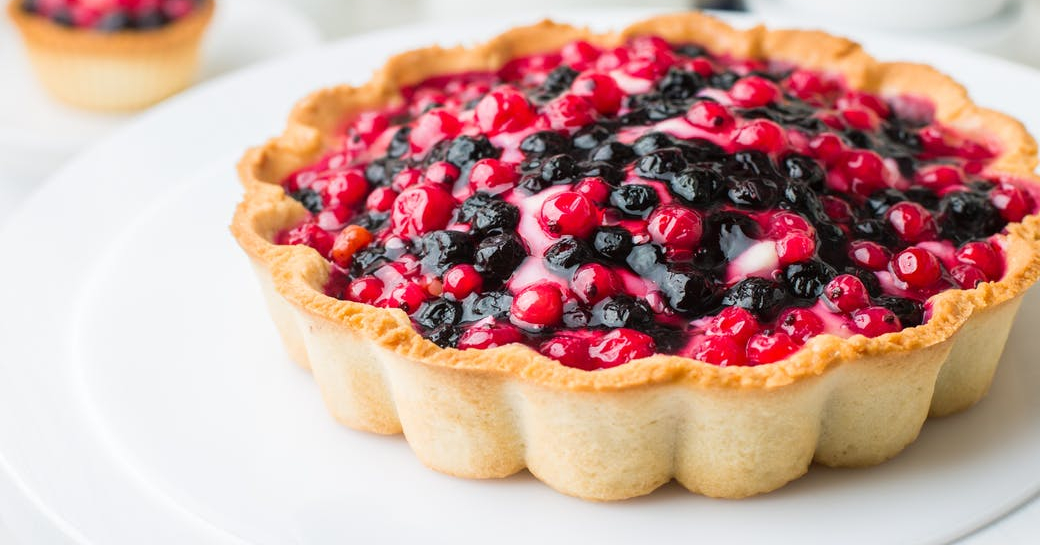
Camp Cooker Cherry Pie (courtesy of Homemade Heather and Twin Dragon Fly Designs)
Ingredients:
- Cherry pie filling
- cinnamon
- Pillsbury Flaky Rolls
- Can Whipped Cream
- Non-stick cooking spray
You will need 1 camp cooker utensil per person. You can purchase them online and in stores like Target and Walmart. Coleman makes on model but I’m sure there are others out there. Just look for them in the camp supply department.
Instructions:
- Spray the inside of the camp cooker (both sides)
- Open tube of Pillsbury rolls and press a roll into each side of the cooker
- Fill one side with 2 TB cherry pie filling and sprinkle with cinnamon
- Top with the second roll, close and latch the camp cooker
- Cook over the fire for approx 5 minutes on each side. Unlatch and check progress frequently as depending on the fire and how close you’re holding the cooker it can be faster or slower.
- Give it a few minutes to cool, then empty the cooker onto a plate and top with whipped cream. Serve.
You can do this with any type of pie filling, including apple, berry, or even pumpkin! If you have a freezer you can also serve with a scoop of ice cream and a drizzle of caramel sauce!
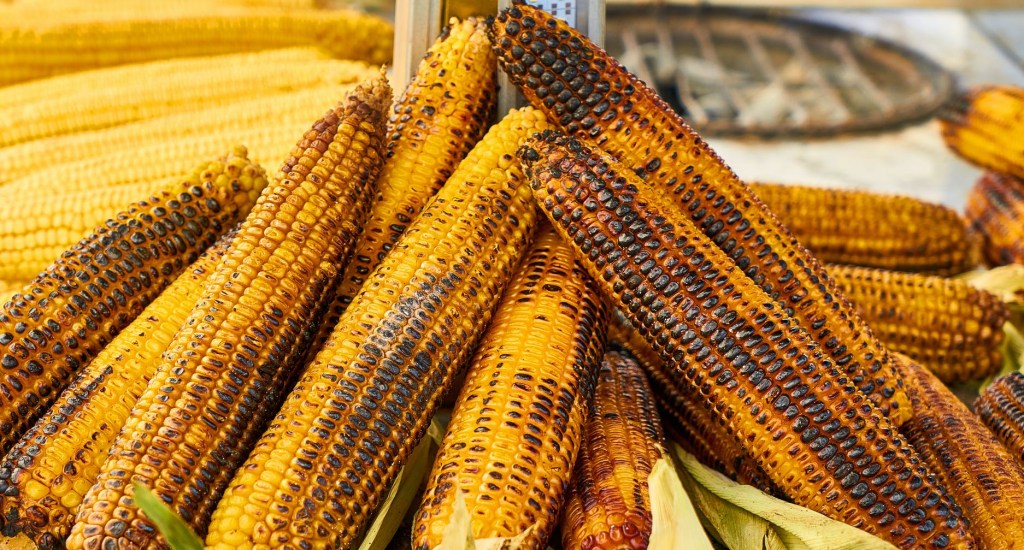
Corn on the Cob
Ingredients:
- Unshucked corn
- Water
Instructions:
- Soak the corn (in the husk) for about one hour
- Place alongside the coals (not in the flames)
- Cook for 20 minutes, rotating every 5 minutes or so. It should not catch fire, but instead, the water steams the corn.
- Remove carefully from the fire, peel and eat with butter, salt and pepper, or your favorite roasted corn topping.
Hot Dogs in a Blanket
Ingredients:
- Hot Dogs (or sausages)
- Pillsbury Crescent Rolls
- Condiments
Instructions:
- If you are using wooden skewers, soak them in a bucket of water for a half hour
- Open the tube of crescent rolls, unwrap and separate each roll
- Wrap your favorite hot dog or sausage with one crescent roll
- Skewer on a water soaked stick or metal skewer with handle
- Cook over fire until crescent roll is browned and hotdog is sizzling
- Wear heat proof glove and use a skewer long enough to allow you to stand back from the heat of the fire.
- When done, remove the hot dog from the skewer and enjoy with your favorite toppings, BBQ sauce, ketchup, mustard, relish, etc.
Roasted Starburst Candy
Yes, this is a thing, and how could you NOT give these a try? Even just for fun?
Ingredients:
- Starburst Candy
Instructions:
- Skewer candy and roast until the outside is slightly browned.
- These will be hot so handle carefully. You end up with a slightly crispy, caramelized outside, and the inside will be sweet and tangy.
And one final recipe that is a memory from the one summer I spent at Girl Scout camp. My mother was a camp counselor so we all got to attend, including my brothers! It may not be any of our fondest memories, but this one recipe is one I always remember.
Coconut Sweet Bread
Ingredients:
- Unsliced italian bread
- Sweetened condensed milk (also called LaLechera and sold in the international food aisle at most stores)
- Flaked, sweetened coconut
Instructions:
- Cut the bread into 3′ x 3″ cubes
- Dip bread cubes into sweetened condensed milk
- Dip bread cubes into coconut flakes
- Insert prepared (wooden should be soaked to prevent them from burning) skewers
- Hold over flames until the coconut is browned
Enjoy!
Sources:
Recent posts from the blog that you may enjoy:
- Lentil and Sausage Soup with Mushrooms
- Biscottis forever!
- Rosemary Garlic Buttermilk Bread
- Apple Cake with Cider Whiskey Glaze
- I’m Back! With Shakshuka and cooking videos!

